Transforming fresh oranges into translucent, shimmering candied gems is one of the most rewarding projects in the kitchen. These sweet treats capture the bright, zesty essence of citrus and preserve it in a sugary syrup, creating a snack that is both beautiful and delicious. Whether used to decorate a cake or enjoyed as a chewy confection on their own, candied orange slices bring a touch of elegance to any table.
Table of Contents
The process is surprisingly simple and requires only a few basic pantry staples. While it takes a little bit of patience to let the fruit simmer to perfection, the result is a professional-quality treat that looks like it came straight from a high-end bakery.
Why This Candied Orange Recipe Works
Making candied citrus is all about balance. The goal is to remove the natural bitterness of the white pith while infusing the fruit with enough sugar to make it tender and sweet. By using a gentle simmering method, the orange rinds become soft and edible, and the flesh turns into a jewel-toned stained-glass window.
This recipe focuses on clarity and simplicity. It avoids complicated techniques, making it perfect for beginners who want to explore the world of homemade confections. Plus, the leftover syrup is a goldmine of flavor that can be used to sweeten teas or drizzle over morning pancakes.
If you’re looking for more ways to use these shimmering citrus gems, they make a stunning, tangy topper for various baked goods, much like the fresh fruit profile found in The Perfect Blueberry Cream Cheese Bread
The Essential Ingredients
To ensure the best results, start with high-quality citrus. Navel oranges are a popular choice because they are seedless, but any variety with a relatively thin skin will work beautifully.
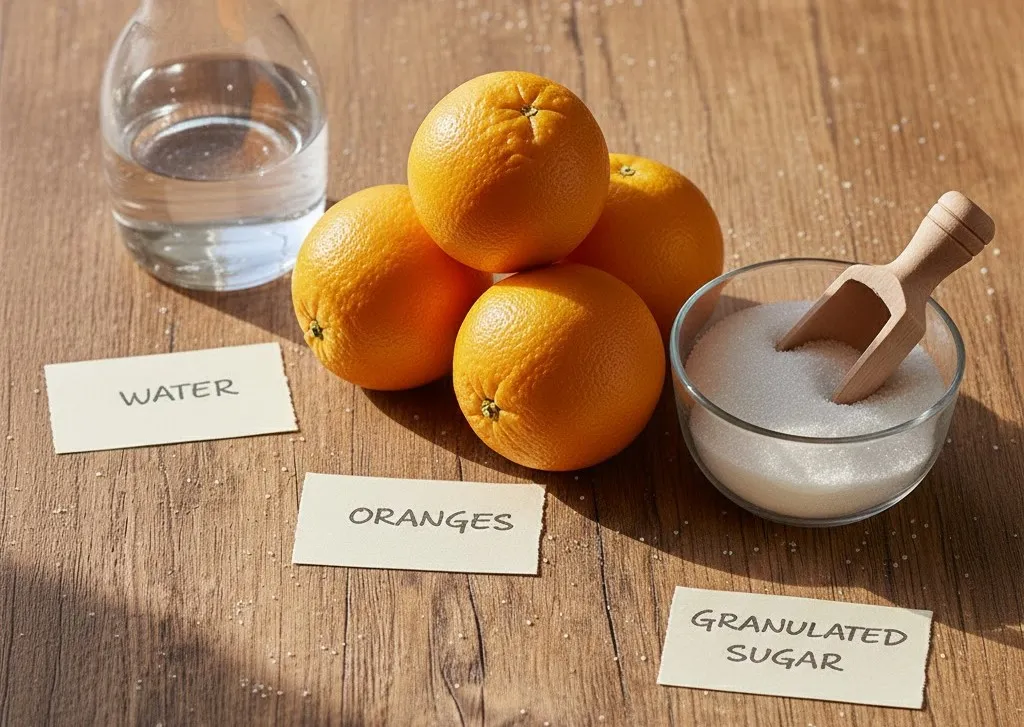
Ingredients List
- Oranges: 3 to 4 medium-sized oranges (preferably seedless)
- Granulated Sugar: 2 cups
- Water: 1 cup
- Extra Sugar: For coating the finished slices (optional)
Basic Equipment Needed
- Sharp Chef’s Knife: Essential for getting clean, even slices.
- Large Skillet or Wide Saucepan: A wide surface area allows the slices to cook in a single layer.
- Wire Cooling Rack: To allow the slices to dry without sticking.
- Parchment Paper: To catch any drips under the cooling rack.
Step-by-Step Instructions
1. Prepare the Fruit
Start by washing the oranges thoroughly to remove any wax or debris from the skin. Using a sharp knife, trim off the ends of each orange. Slice the fruit into uniform rounds, aiming for a thickness of about 1/8 to 1/4 inch. If the slices are too thick, the pith may remain bitter; if they are too thin, they might fall apart during the simmering process.
2. The Initial Blanch (Optional but Recommended)
For those who prefer a very mild flavor, blanching the slices in boiling water for 1 or 2 minutes before candying can help remove excess bitterness. Drain the slices and set them aside.
3. Create the Simple Syrup
In a large skillet or wide pan, combine the 2 cups of sugar and 1 cup of water. Stir the mixture over medium heat until the sugar has completely dissolved and the liquid begins to simmer.

4. Simmer the Slices
Carefully place the orange slices into the simmering syrup. Try to keep them in a single layer so they cook evenly. Reduce the heat to low. The syrup should maintain a very gentle bubble. Cook the slices for about 45 to 60 minutes. You will know they are ready when the white pith becomes translucent and the peel looks shiny and soft.
5. The Drying Process
Carefully lift the slices out of the syrup using tongs or a fork. Place them onto a wire cooling rack set over parchment paper. Let the slices sit at room temperature for at least 24 hours. They will feel tacky at first but will firm up as they dry.
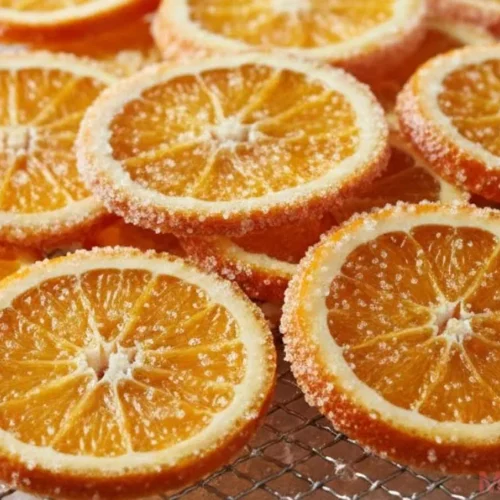
6. Final Touch
Once the slices are mostly dry but still slightly sticky, they can be tossed in a bowl of granulated sugar for a sparkling, frosted look. This also makes them easier to handle.

Expert Tips for the Best Candied Oranges
- Uniform Slicing: Use a mandoline slicer if available to ensure every piece is exactly the same thickness. This ensures they all finish cooking at the same time.
- Low and Slow: Never rush the simmering process. If the heat is too high, the sugar will caramelize and turn brown, losing the bright orange color.
- Don’t Discard the Syrup: The liquid left in the pan is now a concentrated orange simple syrup. Store it in a glass jar in the fridge.
- Check for Seeds: Even “seedless” varieties occasionally have a stray seed. Pop them out with the tip of a knife before simmering to keep the slices looking perfect.
Creative Variations
While plain orange is a classic, there are several ways to tweak this recipe:
- Chocolate Dipped: Once the slices are fully dry, dip half of each slice into melted dark chocolate for a decadent treat.
- Spice Infusion: Add a cinnamon stick or a few star anise pods to the syrup while it simmers to add a warm, cozy aroma.
- Citrus Mix: Use the same method for lemons, limes, or grapefruits to create a colorful assortment of candied fruit.

The DIY Candied Orange Peel Guide
Transforming what would normally be kitchen scraps into a gourmet ingredient is the ultimate kitchen win, as these old-fashioned sugared orange peels serve as a brilliant DIY candy that proves you should never throw away your citrus rinds; instead, you can follow this simple simmering method to create the best candied orange peel for better baking, providing a vibrant, chewy texture and concentrated citrus burst that elevates everything from holiday fruitcakes and morning muffins to elegant dessert garnishes, all while offering a budget-friendly, sustainable way to stock your pantry with a professional-grade confection that looks absolutely stunning when photographed for a Pinterest-worthy kitchen aesthetic.
To turn what many consider kitchen waste into a gourmet pantry staple, simply follow this straightforward method to create Old-Fashioned Sugared Orange Peels, a surprisingly Easy DIY Candy that ensures you Don’t Throw Away Orange Peels when you can easily craft the Best Candied Orange Peel for Better Baking. Start by slicing your rinds into thin strips and simmering them in a simple sugar syrup until they become translucent and tender, absorbing the sweetness while losing their harsh bitterness. Once drained and dried until slightly tacky, a quick toss in granulated sugar provides that classic sparkling finish, leaving you with a versatile, chewy confection that is perfect for snacking or adding a professional citrus burst to your favorite cakes and pastries.

Storage and Serving Suggestions
Storage
Store the finished candied orange slices in an airtight container. If they have been coated in sugar, they can be kept at room temperature in a cool, dry place for up to two weeks. For longer storage, keep them in the refrigerator for up to a month. Layer them with parchment paper to prevent sticking.
Serving
- Cake Decoration: These make stunning toppers for orange-flavored cakes, cheesecakes, or cupcakes.
- Teatime Snack: Serve them on a small dish alongside hot tea for a light, sweet accompaniment.
- Breakfast Topping: Chop them up and stir them into oatmeal or yogurt for a burst of citrus flavor.
Frequently Asked Questions
1. Why are my candied oranges still bitter? Bitterness usually comes from the white pith. Blanching the slices in plain boiling water before adding them to the syrup helps extract the bitter oils.
2. Can I use this recipe for thick-skinned oranges? Yes, but thick-skinned varieties may require a longer simmering time to ensure the pith becomes fully translucent and tender.
3. How do I know when the slices are done cooking? The white part of the rind (the pith) will change from solid white to a clear, see-through appearance.
4. What should I do if my syrup gets too thick? If the water evaporates too quickly, add a tablespoon of water to thin the syrup back down so the slices can continue to soften.
5. Why are my slices falling apart? This usually happens if the slices are cut too thin or if the syrup is boiling too vigorously. Keep the heat on a very low simmer.
6. Do I have to dry them for a full 24 hours? Yes, the drying time is crucial for the texture. If they are not dried properly, they will remain too soft and messy to handle.
7. Can I use honey instead of sugar? Sugar provides the best structure and preservation, but a portion of the sugar can be replaced with honey for a different flavor profile.
8. Is it necessary to coat them in extra sugar? No, it is optional. Leaving them plain results in a “glass” look, while sugar-coating provides a crunchier texture and prevents sticking.
9. Can these be frozen? Freezing is not recommended as it can change the texture of the sugar and make the slices soggy upon thawing.
10. What kind of sugar works best? Standard granulated white sugar is best for clarity and a clean sweet taste.
Conclusion
Making candied orange slices is a wonderful way to bring a bit of sunshine into the kitchen. With just a few ingredients and a little time, anyone can create a versatile treat that is as beautiful as it is delicious. From decorating festive desserts to enjoying a sweet midday snack, these citrus rounds are sure to impress. Give this recipe a try and enjoy the bright, concentrated flavors of homemade candied fruit.
Candied Orange Slices: The Ultimate Easy Guide to Making Sweet Citrus Treats
Ingredients
- 3-4 Medium Oranges Navel or Valencia work best
- 2 Cups Granulated Sugar
- 1 Cup Water
- Extra Sugar For dusting/coating
Instructions
Prepare the Fruit: Wash the oranges thoroughly and slice them into uniform rounds, ensuring they are between 1/8 and 1/4 inch thick.
Create the Syrup: Combine the sugar and water in your skillet over medium heat, stirring until the sugar dissolves completely and the liquid begins to bubble.
Add the Citrus: Lay the orange slices into the simmering syrup in a single layer to ensure even cooking.
Simmer Gently: Reduce the heat to low and let the slices cook slowly. The syrup should barely bubble while the fruit fibers soften.
Check for Transparency: Continue simmering until the white pith of the orange becomes translucent and the peel looks glossy.
Drain and Dry: Use tongs to transfer the slices to a wire rack set over parchment paper.
Set the Texture: Allow the oranges to air-dry at room temperature for a full day until they are tacky but firm.
Finish with Sugar: Toss the dried slices in a bowl of granulated sugar for a sparkling finish and to prevent sticking.
Notes
- Storage: Keep in an airtight container at room temperature for 2 weeks or refrigerated for 1 month.
- Serving: Use as a garnish for cakes, a side for tea, or dip in dark chocolate for a premium treat.

Mealoras your go-to for simple, flavorful recipes! From quick weeknight dinners to sweet treats and family favorites, we make cooking easy, fun, and delicious for everyone in the kitchen.