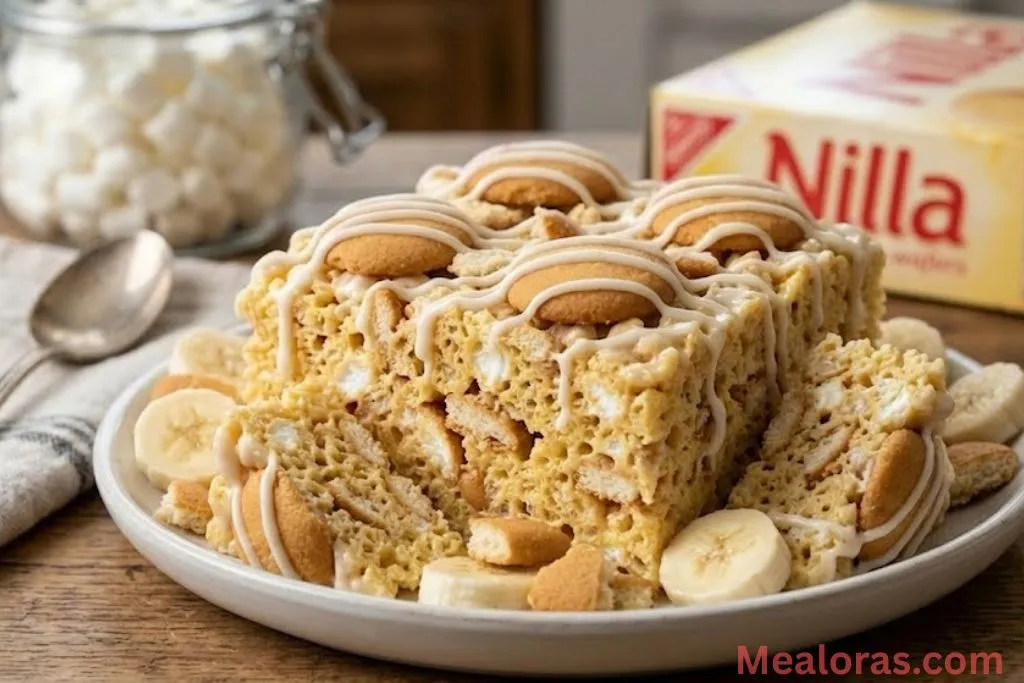
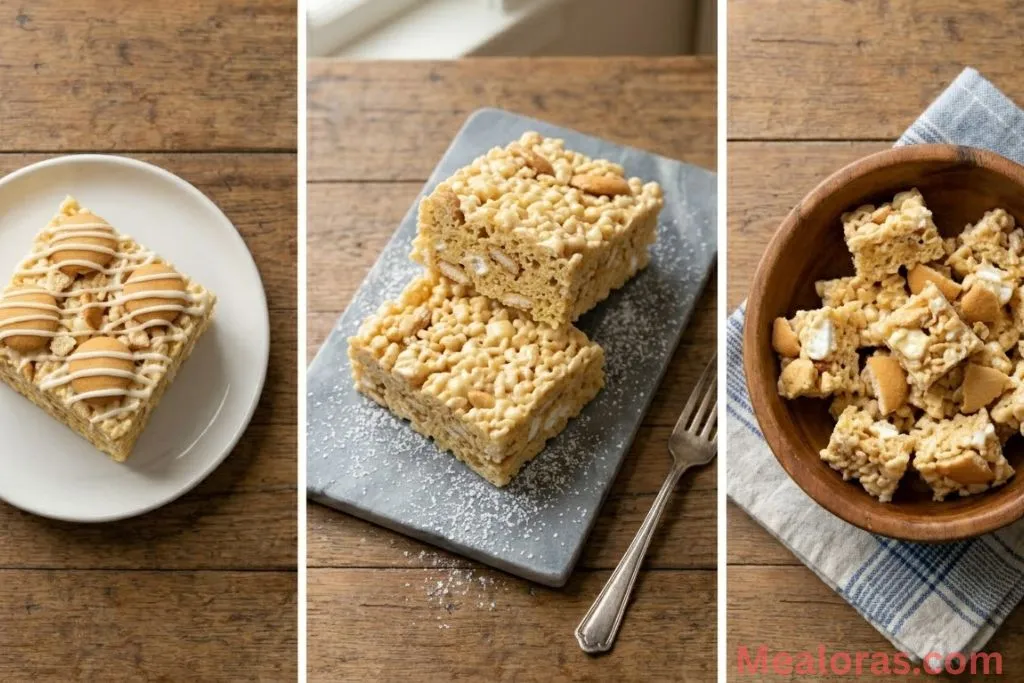
Combining the classic, comforting flavors of a Southern banana pudding with the chewy, crunchy texture of a cereal bar creates a dessert that is truly special. These Banana Pudding Rice Krispie Treats offer a delightful twist on a childhood favorite, bringing together creamy banana notes and the nostalgic crunch of vanilla wafers.
Table of Contents
If you are looking for a dessert that is easy to assemble but offers a unique flavor profile, this recipe is a fantastic choice. The addition of instant pudding mix provides a smooth, fruit-forward taste that pairs perfectly with the buttery marshmallows. It is a wonderful alternative to traditional treats, much like how cinnamon sugar donut bread provides a cozy change of pace for breakfast or snack time.
Why These Banana Pudding Treats Work
The secret to this recipe lies in the balance of textures. By folding in crushed vanilla wafers, you get a distinct “cookie-and-cream” feel that mimics the layers of a traditional pudding. The banana flavor is present but not overwhelming, making it a hit for both kids and adults.
Whether you are preparing a snack for a school lunch or looking for a quick dessert to bring to a gathering, these bars are incredibly reliable. Much like making healthy carrot cake muffins, these treats allow you to enjoy a dessert-inspired flavor in a convenient, portable format.
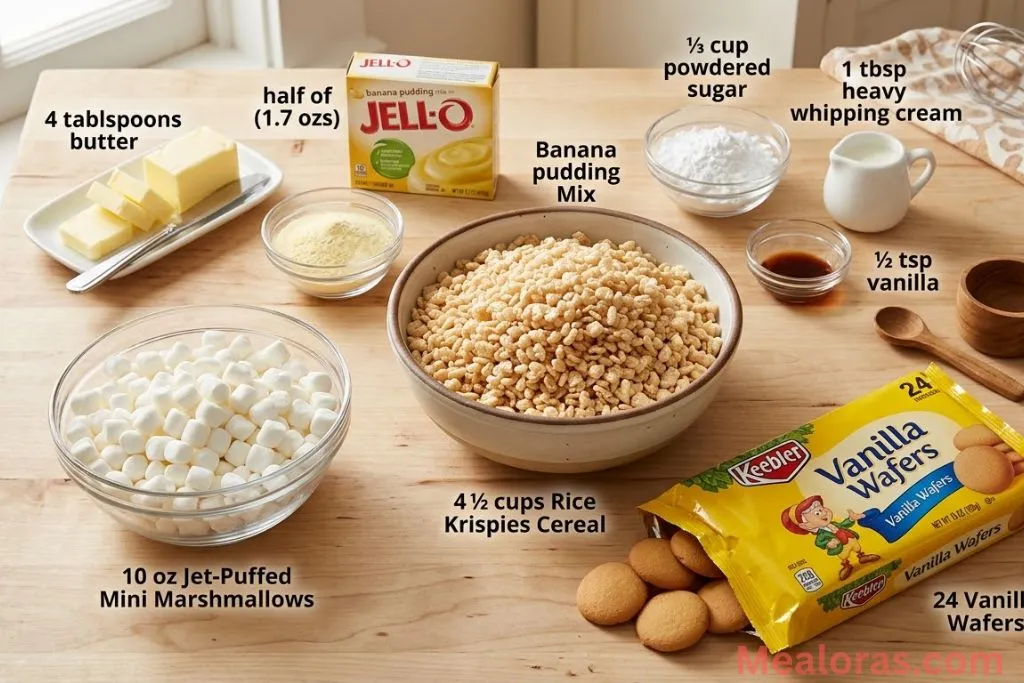
Ingredients for Banana Pudding Rice Krispie Treats
To ensure the best results, it is helpful to have all your ingredients measured and ready before you start melting the butter.
For the Treats:
- Rice Krispies Cereal: 4 ½ cups
- Vanilla Wafer Cookies: 24 cookies total (divided)
- Butter: 4 tablespoons (salted is recommended for better flavor)
- Marshmallows: 10 ounces (mini or large)
- Instant Banana Pudding Mix: 1.7 ounces (this is exactly half of a standard 3.4-ounce box)
For the Optional Vanilla Glaze:
- Powdered Sugar: ⅓ cup
- Heavy Whipping Cream or Milk: 1 tablespoon (plus 1-2 teaspoons extra if needed for consistency)
- Vanilla Extract: ½ teaspoon
Essential Kitchen Tools:
- 8-inch square baking pan
- Extra-large mixing bowl
- Medium-to-large saucepan (non-stick is best)
- Silicone spatula
- Small bowl (for the glaze)
Step-by-Step Instructions
1. Prepare Your Equipment
Start by greasing your 8-inch square baking pan and a large mixing bowl with butter or a light coating of baking spray. This prevents the marshmallow mixture from sticking and makes clean-up much easier.
2. Mix the Cereal and Cookies
Measure out the cereal and pour it into the greased mixing bowl. Take 14 of the vanilla wafer cookies and break them into bite-sized pieces. Toss these into the bowl with the cereal. Take the remaining 10 cookies, break them into pieces as well, and set them aside in a separate small bowl for the topping.
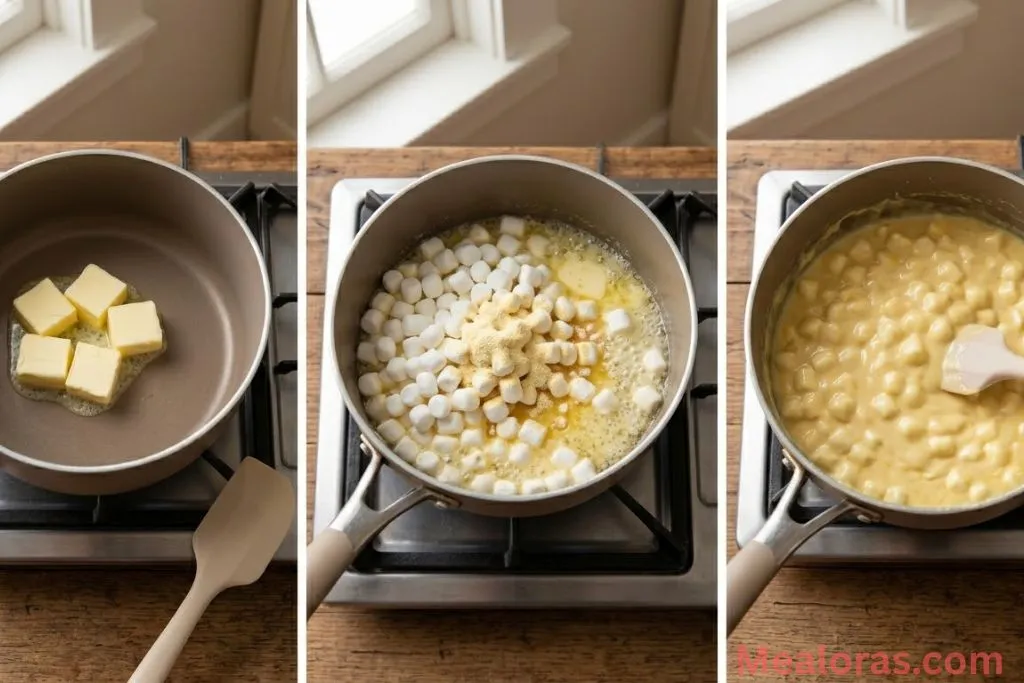
3. Melt the Butter and Marshmallows
Cut the butter into small cubes and place them in your saucepan over low heat. Once the butter begins to melt, add the marshmallows to the pan. Sprinkle the instant banana pudding mix directly over the marshmallows. Stir gently to coat the marshmallows in the butter and pudding powder.
4. Controlled Melting
Continue to stir every minute or so. The key to soft, chewy treats is to avoid overheating. When the marshmallows are about 75% melted, remove the pan from the heat. Continue stirring off the heat; the residual warmth will melt the remaining pieces until the mixture is completely smooth and creamy.
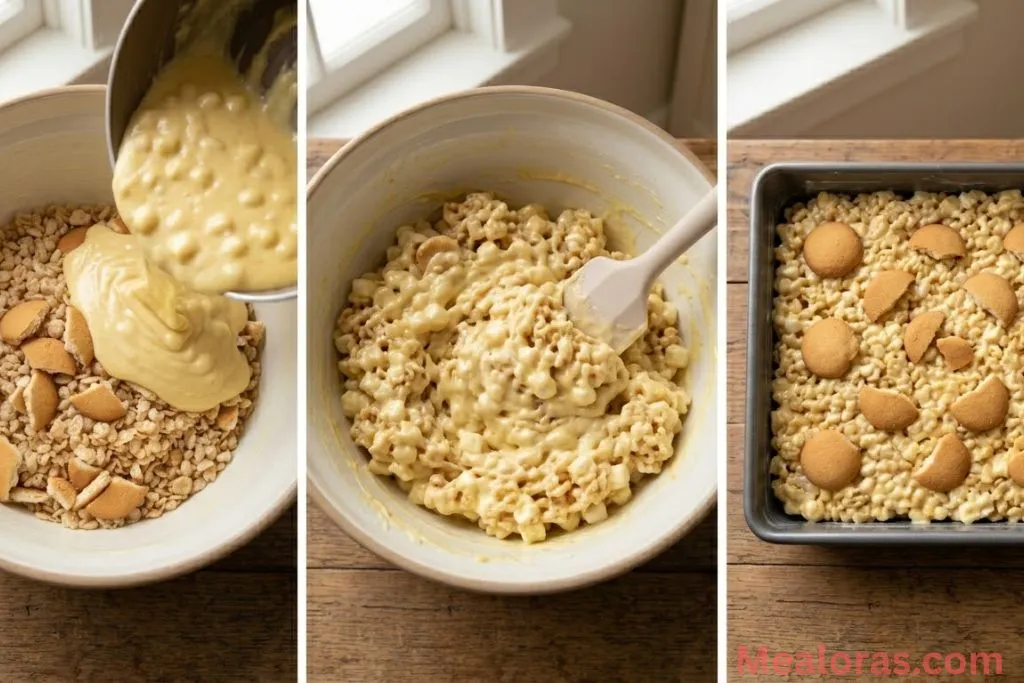
5. Combine and Set
Pour the warm banana marshmallow mixture over the cereal and cookie pieces. Use your greased spatula to stir until every piece of cereal is evenly coated. Transfer the mixture to your prepared baking pan.
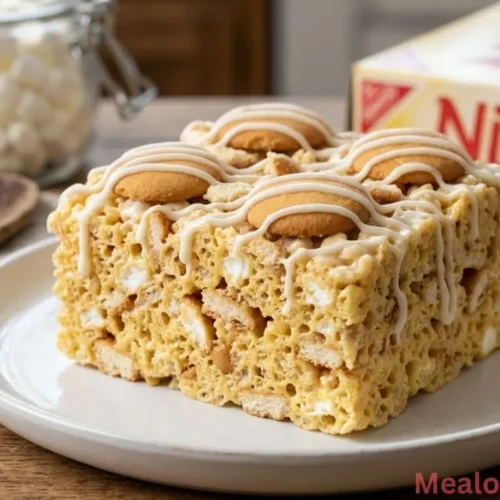
Gently press the mixture into an even layer. Avoid pressing too firmly, as compacting the cereal too much will result in a hard treat. Immediately sprinkle the reserved cookie pieces over the top and press them lightly so they stick.
6. Add the Glaze (Optional)
While the treats rest, whisk together the powdered sugar, vanilla, and one tablespoon of cream in a small bowl. If it feels too thick to drizzle, add a tiny bit more cream until it reaches a ribbon-like consistency.
After the treats have cooled for about 30 minutes, cut them into squares or rectangles. Drizzle the glaze over the top using a spoon or a small plastic bag with the corner snipped off. Let the glaze set for another 30 minutes before serving.
Tips for Success
- Avoid High Heat: Never rush the melting process. High heat causes the sugar in the marshmallows to crystallize, which leads to hard, brittle treats.
- Pudding Portioning: Use exactly half the box of pudding. Using the full box in this size batch can make the flavor too intense and may affect the texture.
- Grease Everything: Marshmallow is incredibly sticky. Coating your hands and tools in a little butter or oil makes the process much smoother.
Storage and Serving
How to Store
Keep these treats in an airtight container at room temperature. They are best enjoyed within the first two or three days but will stay fresh for up to five days.
Freezing Instructions
If you want to save them for later, wrap the bars individually and place them in a freezer-safe bag. They can be frozen for up to three months. Simply let them sit at room temperature for about an hour before eating.
Serving Ideas
Serve these alongside a cold glass of milk for a simple afternoon snack. They are also a great addition to a lunchbox or a dessert platter for a casual get-together.
Frequently Asked Questions
1. Can I use a different type of pudding? Yes, you can experiment with vanilla or white chocolate pudding, though banana provides the signature flavor for this specific recipe.
2. Is it okay to use store-brand marshmallows? You can, but some store brands have a different melting point and can be stickier. If the mixture feels too wet, you may need to add an extra half cup of cereal.
3. Do I need to cook the pudding first? No, use the dry instant pudding mix straight from the box. Do not follow the instructions on the pudding box to make actual pudding.
4. Can I use a larger pan? This recipe is designed for an 8-inch pan. If you use a 9×13 pan, the treats will be very thin. It is better to double the recipe for a larger pan.
5. Why are my treats hard? This usually happens if the marshmallows were melted over high heat or if the cereal was pressed too firmly into the pan.
6. Can I make these in the microwave? Yes. Heat the butter and marshmallows in a microwave-safe bowl for one minute, stir, and let sit for a few minutes to allow the heat to finish the melting process.
7. Can I use margarine instead of butter? Real butter provides the best flavor and setting consistency, but a high-quality margarine can work in a pinch.
8. Should I use old marshmallows? Fresh marshmallows melt much better. If your marshmallows are old and stuck together in the bag, they may not melt smoothly.
9. Can I add real bananas? It is not recommended to add fresh bananas into the mix as the moisture will make the cereal soggy and shorten the shelf life significantly.
10. How long does the glaze take to dry? The glaze usually forms a firm crust in about 30 minutes, depending on the humidity in your kitchen.
Conclusion
These Banana Pudding Rice Krispie Treats are a wonderful way to enjoy a classic dessert flavor in a fun, handheld form. The combination of creamy banana pudding mix and crunchy vanilla wafers makes every bite interesting. They are simple enough for beginners to master and delicious enough to become a regular request.
Give this recipe a try the next time you want a sweet treat that stands out from the crowd. If you enjoy making these, consider sharing the recipe with your friends and family so they can experience this unique flavor combination too!
Banana Pudding Rice Krispie Treats
Ingredients
- 4 ½ cups Rice Krispies Cereal
- 24 vanilla wafer cookies divided
- 4 tablespoons butter
- 10 ounces marshmallows
- 1.7 ounces instant banana pudding mix half of a 3.4 oz box
- ⅓ cup powdered sugar for glaze
- 1 tablespoon heavy whipping cream or milk for glaze
- ½ teaspoon vanilla extract for glaze
Instructions
- Begin by greasing the baking pan and a large mixing bowl to ensure nothing sticks.
- Measure the cereal into the bowl and mix in the first portion of crushed vanilla wafer cookies.
- Melt the butter in a saucepan over low heat before adding the marshmallows and the dry pudding mix.
- Stir the mixture gently and remove from the heat while some marshmallows are still visible to keep them soft.
- Pour the smooth banana marshmallow cream over the cereal and cookies, stirring until everything is well coated.
- Transfer the mixture into the prepared pan and press down lightly without compacting the cereal.
- Top the treats with the remaining crushed cookies and allow them to rest until firm.
- Whisk the powdered sugar, cream, and vanilla together to create a smooth glaze for drizzling.
- Slice the treats into even squares and finish with a drizzle of the vanilla glaze before serving.
Notes
• Avoid high heat to prevent the sugar from hardening, which keeps the treats chewy.
• Store in an airtight container at room temperature for up to five days or freeze for up to three months.

Mealoras your go-to for simple, flavorful recipes! From quick weeknight dinners to sweet treats and family favorites, we make cooking easy, fun, and delicious for everyone in the kitchen.