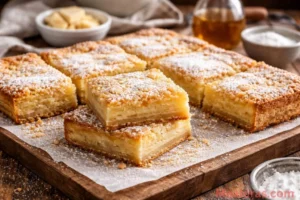
There is nothing quite like waking up to the smell of fresh waffles drifting through the house. When it comes to breakfast, a golden, crispy waffle is a true classic that brings comfort to the table every single time. While frozen options are convenient, they simply cannot compete with the texture and deep flavor. These buttermilk waffles are designed to be light and airy on the inside with a satisfying crunch on the outside.
Table of Contents
Using buttermilk is the secret to achieving that perfect diner-style quality. The slight tang of the buttermilk balances the sweetness of the syrup, while the reaction between the buttermilk and the leavening agents creates incredible lift. Whether it is a slow Saturday morning or a special holiday brunch, this recipe is reliable, quick, and sure to become a household favorite.
Why You Will Love These Buttermilk Waffles
The beauty of this recipe lies in its simplicity. With just a few pantry staples and a standard waffle iron, a restaurant-quality meal is ready in minutes. Unlike some complicated recipes that require beating egg whites separately, this method is straightforward and beginner-friendly.
The texture is the real winner here. By using a generous amount of melted butter and real buttermilk, the batter cooks up into a waffle that is sturdy enough to hold plenty of toppings but soft enough to melt in the mouth. It is the kind of breakfast that feels like a warm hug.
For those who enjoy experimenting with different breakfast treats, these waffles pair beautifully with other morning delights. If looking for a lighter, protein-packed option to serve alongside, this protein pumpkin cinnamon mug delight is a fantastic companion that adds a touch of spice to the meal.
Ingredients for the Perfect Waffle
To ensure the best results, gather these simple ingredients. Using high-quality vanilla and fresh buttermilk will make a noticeable difference in the final taste.
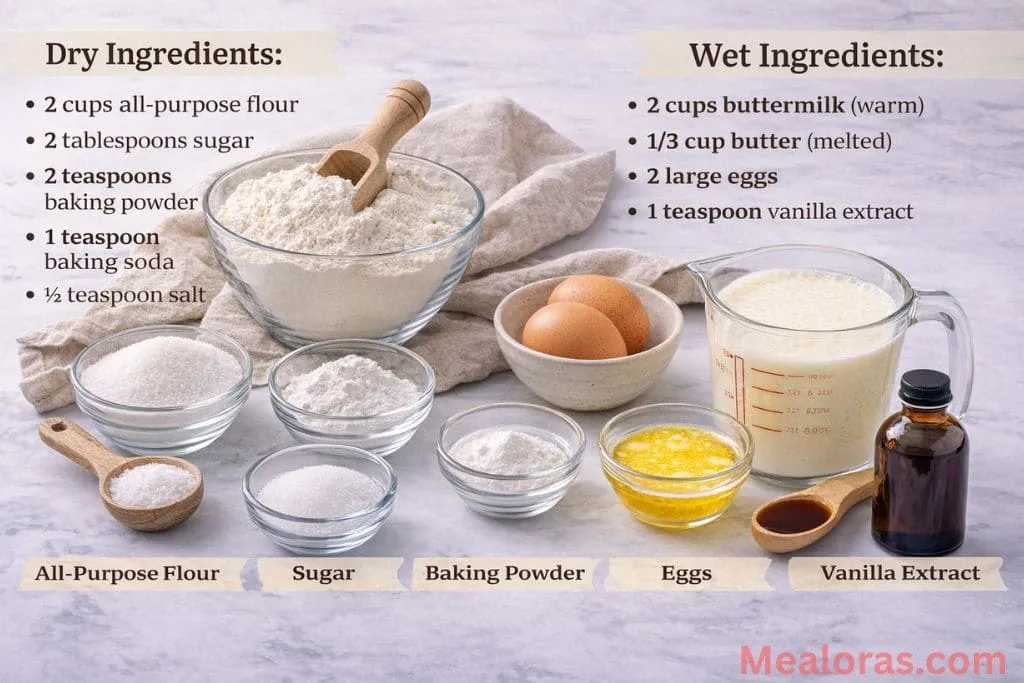
Dry Ingredients:
- 2 cups all-purpose flour: Provides the structure for the waffle.
- 2 tablespoons sugar: Adds a hint of sweetness and helps with browning.
- 2 teaspoons baking powder: Acts as a lifting agent for fluffiness.
- 1 teaspoon baking soda: Reacts with the buttermilk for extra rise.
- ½ teaspoon salt: Enhances all the other flavors in the batter.
Wet Ingredients:
- 2 cups buttermilk (warm): The star ingredient for tang and tenderness.
- ⅓ cup butter (melted): Creates a rich flavor and a crispy exterior.
- 2 large eggs: Binds the batter together and adds richness.
- 1 teaspoon vanilla extract: For that classic bakery aroma.
Basic Tools Needed:
- Large and medium mixing bowls
- A sturdy whisk
- A waffle iron (any style works)
- Measuring cups and spoons
- Non-stick cooking spray or a pastry brush for oiling
Step-by-Step Cooking Instructions
Follow these easy steps to create the ultimate breakfast stack.
1. Prepare the Dry Mix
In a medium-sized mixing bowl, combine the all-purpose flour, granulated sugar, baking powder, baking soda, and salt. Use a whisk to stir everything together until the ingredients are well-distributed and there are no large clumps of flour.
2. Mix the Wet Ingredients
In a separate bowl, pour in the warm buttermilk and the melted butter. Whisk them together briefly. Add the two eggs and continue to stir until the mixture is smooth and the eggs are fully incorporated.
3. Combine the Batter
Carefully pour the dry flour mixture into the bowl with the wet ingredients. Use a whisk or a large spoon to fold them together. It is very important to stop mixing as soon as the flour is moistened. You should still see some small lumps in the batter. If the batter is perfectly smooth, the waffles might turn out tough rather than light.

4. The Final Touch and Rest
Gently fold in the vanilla extract. Once the batter is ready, let it sit on the counter for about 10 minutes. This resting time allows the flour to fully hydrate and the leavening agents to begin working, which leads to a better rise during cooking.
5. Heat the Waffle Iron
While the batter rests, plug in the waffle iron and let it heat up fully. Most modern waffle makers have an indicator light that turns on when it is ready. Once hot, lightly coat the plates with non-stick cooking spray or a small amount of melted butter.
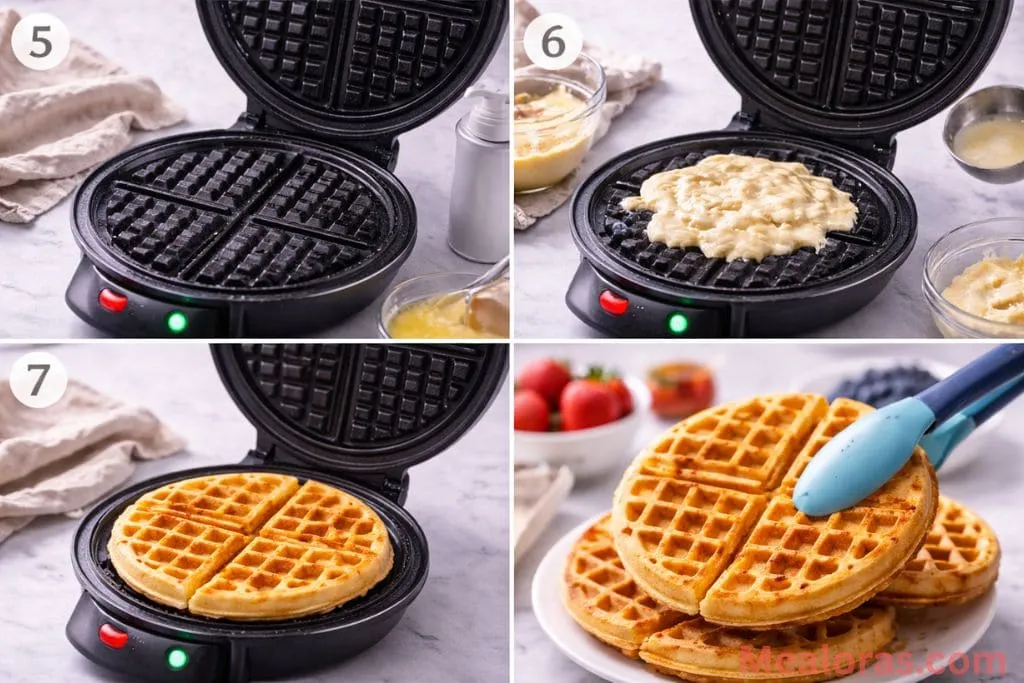
6. Cook Until Golden
Pour approximately ⅓ to ½ cup of batter into the center of the waffle iron (the exact amount depends on the size of the machine). Spread it slightly toward the edges, then close the lid. Cook for about 3 to 5 minutes, or until the steam stops rising and the waffle is a beautiful golden brown.
7. Serve and Repeat
Carefully remove the waffle with a fork or silicone tongs. Continue the process with the remaining batter. Serve them warm with your favorite toppings.
Helpful Tips for Success
Creating the perfect waffle is an art, but these tips make it easy for anyone to master.
- Do Not Overmix: This is the most common mistake. Overworking the batter develops gluten, which makes the waffles chewy instead of crisp and airy. Lumps are your friend!
- Check the Steam: If the waffle iron does not have a “ready” light, watch the steam. When the steam stops puffing out from the sides, the waffle is usually done.
- Warm the Buttermilk: Using cold buttermilk can cause the melted butter to seize up and form little solid chunks. Warming the buttermilk slightly ensures a smooth, consistent batter.
- Use a Wire Rack: If cooking for a group, do not stack the hot waffles on a plate. This creates steam and makes them soggy. Instead, place them in a single layer on a wire rack inside a low-heat oven (around 200°F) to keep them warm and crisp.
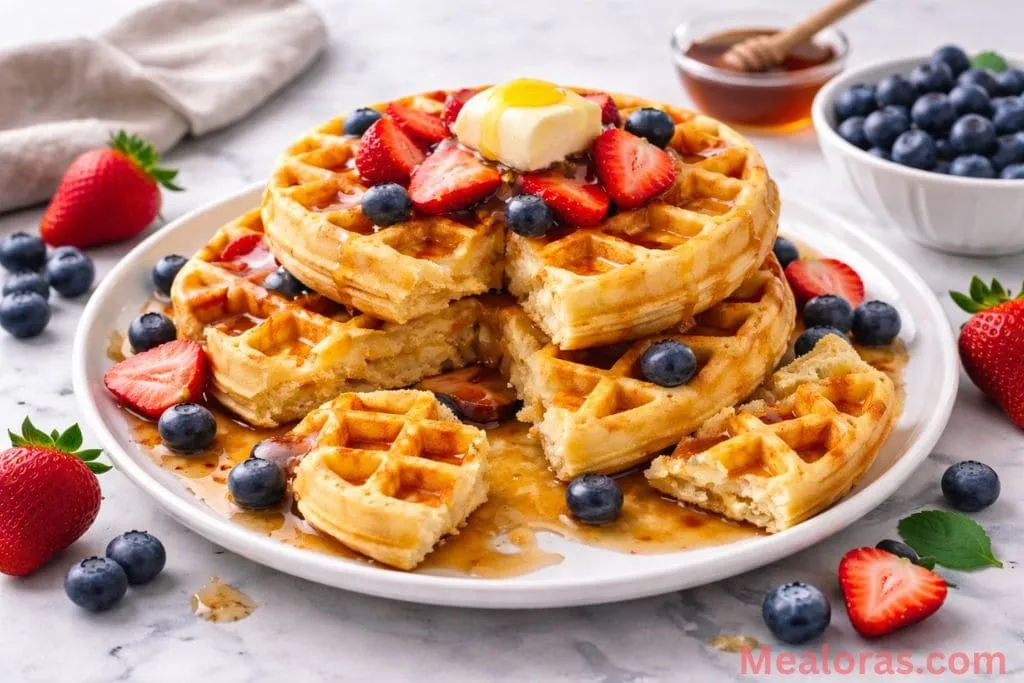
Serving and Storage Ideas
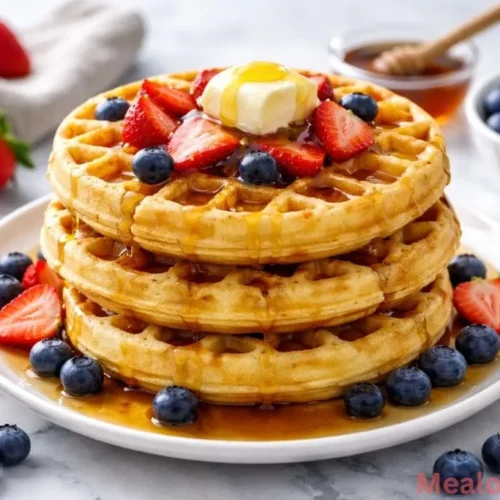
These waffles are a blank canvas for delicious toppings. Since this is a family-friendly breakfast, focus on fresh and sweet additions. Fresh strawberries, blueberries, or sliced bananas are always a hit. A generous drizzle of maple syrup or a dollop of whipped cream turns them into a true treat.
If looking for a more decadent dessert-style breakfast, serving a slice of almond raspberry cake on the side provides a wonderful contrast in textures and nutty flavors.
Storing Leftovers
If you find yourself with extra waffles, do not throw them away! They store remarkably well.
- Refrigeration: Place cooled waffles in an airtight container or a zip-top bag. They will stay fresh in the fridge for up to 3 days.
- Freezing: These are excellent for meal prepping. Freeze them in a single layer on a baking sheet for an hour, then transfer them to a freezer bag. They will last for up to 2 months.
- Reheating: To regain that signature crispness, avoid the microwave. Instead, pop the frozen or chilled waffles into a toaster or a toaster oven until they are hot and crunchy again.
Frequently Asked Questions
1. Can I use regular milk instead of buttermilk? While you can, the texture will be different. Buttermilk provides the necessary acid to react with the baking soda for a fluffy rise.
2. How do I make a buttermilk substitute? Mix 1 tablespoon of lemon juice or white vinegar into 1 cup of regular milk. Let it sit for 10 minutes until it curdles before using.
3. Why are my waffles sticking to the iron? The iron might not be hot enough, or it may need more grease. Ensure the “ready” light is on before adding batter.
4. Can I make the batter the night before? It is not recommended because the baking soda and powder lose their lifting power over time. Fresh batter yields the fluffiest results.
5. Why are my waffles soft instead of crispy? This often happens if the iron isn’t hot enough or if the waffles were stacked on top of each other while hot.
6. Is it okay to use whole wheat flour? Yes, but the waffles will be denser and heavier. You may need to add a splash more buttermilk.
7. Can I add blueberries or chocolate chips to the batter? Absolutely! Gently fold them in at the very end after the batter has rested.
8. Do I need to grease a non-stick waffle iron? Even non-stick irons benefit from a light coating of oil or spray to ensure the waffles release cleanly every time.
9. What if I don’t have a whisk? A large fork can work in a pinch, but be careful not to over-stir the mixture.
10. Why did my waffles turn out flat? Check the expiration dates on your baking powder and baking soda. If they are old, they won’t provide the necessary lift.
Conclusion
Making homemade buttermilk waffles is a rewarding experience that transforms a simple morning into something special. With their golden edges and soft, pillowy centers, they truly are the king of breakfast foods. By following these simple steps and keeping an eye on the mixing process, anyone can achieve perfect results.
Please take a moment to share this recipe with your friends and family members! Spreading the joy of a delicious homemade breakfast is a wonderful way to connect with loved ones over a shared love for great food. Happy cooking!
Ultimate Fluffy Buttermilk Waffles
Ingredients
- 2 cups all-purpose flour
- 2 tablespoons sugar
- 2 teaspoons baking powder
- 1 teaspoon baking soda
- ½ teaspoon salt
- 2 cups buttermilk warm
- ⅓ cup butter melted
- 2 large eggs
- 1 teaspoon vanilla extract
Instructions
- Whisk the flour, sugar, baking powder, baking soda, and salt in a medium bowl until well combined.
- In a separate bowl, stir together the warm buttermilk, melted butter, and eggs until the mixture is smooth.
- Pour the dry flour mixture into the wet ingredients and fold them together just until the flour is moistened, leaving some small lumps.
- Gently stir in the vanilla extract and let the batter rest for ten minutes to allow the leavening agents to activate.
- Heat the waffle iron and lightly coat the plates with non-stick spray or melted butter.
- Pour the batter into the center of the hot iron, spreading it slightly toward the edges before closing the lid.
- Cook until the steam ceases and the waffle reaches a deep golden-brown color, then remove carefully and serve warm.
Notes
• Temperature Matters: Use warm buttermilk to prevent the melted butter from solidifying in the batter.
• Stay Crispy: Place finished waffles on a wire rack instead of a plate to prevent them from becoming soggy while you cook the rest.

Mealoras your go-to for simple, flavorful recipes! From quick weeknight dinners to sweet treats and family favorites, we make cooking easy, fun, and delicious for everyone in the kitchen.