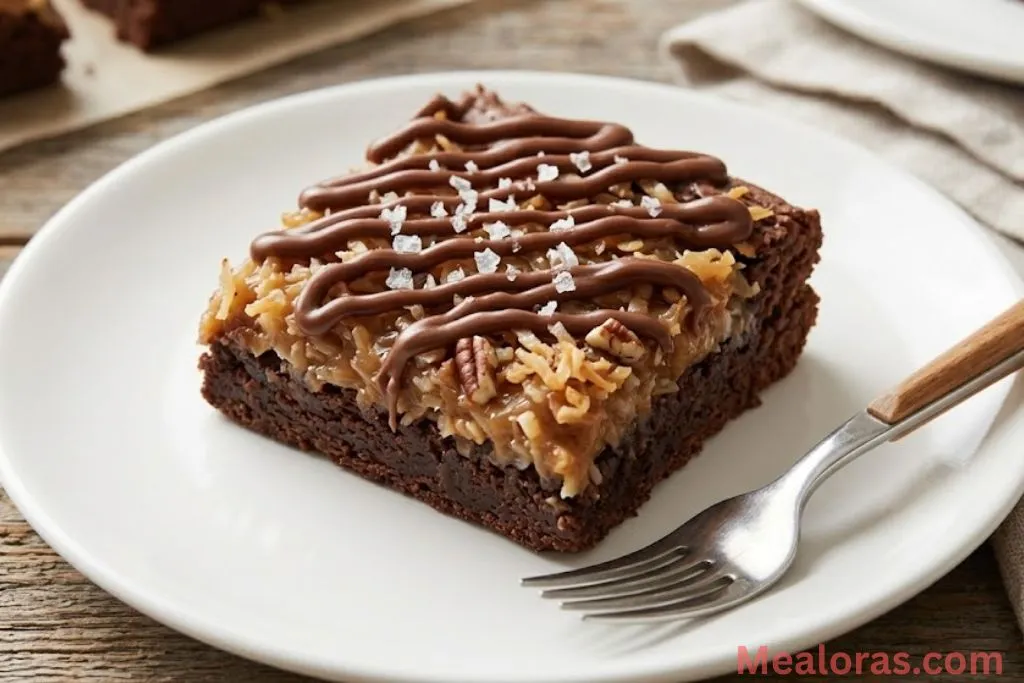
Enjoying a decadent treat that combines rich chocolate, gooey caramel, and toasted coconut is a dream for any dessert lover. These Easy Samoa Brownies take inspiration from the classic Girl Scout cookie but transform those flavors into a thick, fudgy bar that is incredibly simple to make. By using a few clever shortcuts, this recipe delivers a gourmet result without requiring hours in the kitchen.
Table of Contents
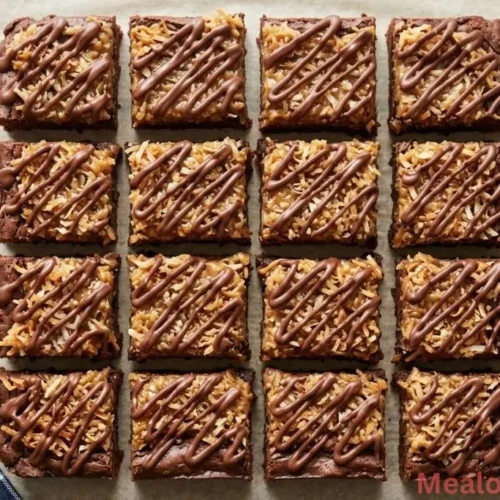
Whether looking for a special weekend project or a reliable dessert to share at a gathering, this recipe hits all the right notes. The base starts with a deep chocolate brownie that provides a sturdy foundation for the sweet and chewy toppings. Once the brownies are baked and cooled, they are layered with a mixture of golden toasted coconut and silky caramel, then finished with a beautiful chocolate drizzle.
This guide will walk through every step to ensure success, from toasting the coconut to achieving the perfect chocolate pattern on top. It is a beginner-friendly process that yields professional-looking results every time.
Why You Will Love These Easy Samoa Brownies
The combination of textures is what makes this dessert truly stand out. You get the crunch of the toasted coconut, the pull of the caramel, and the melting richness of the chocolate all in one bite. It is a crowd-pleasing option that looks impressive but is secretly very straightforward to assemble.
For those who enjoy hosting or bringing treats to share, these brownies are a fantastic choice. If you are looking for more comforting dishes to serve at a gathering, you might also enjoy this creamy cowboy queso recipe which is always a hit as an appetizer. Just like a good dip, these brownies disappear quickly once they are sliced and served.
Ingredients for Easy Samoa Brownies
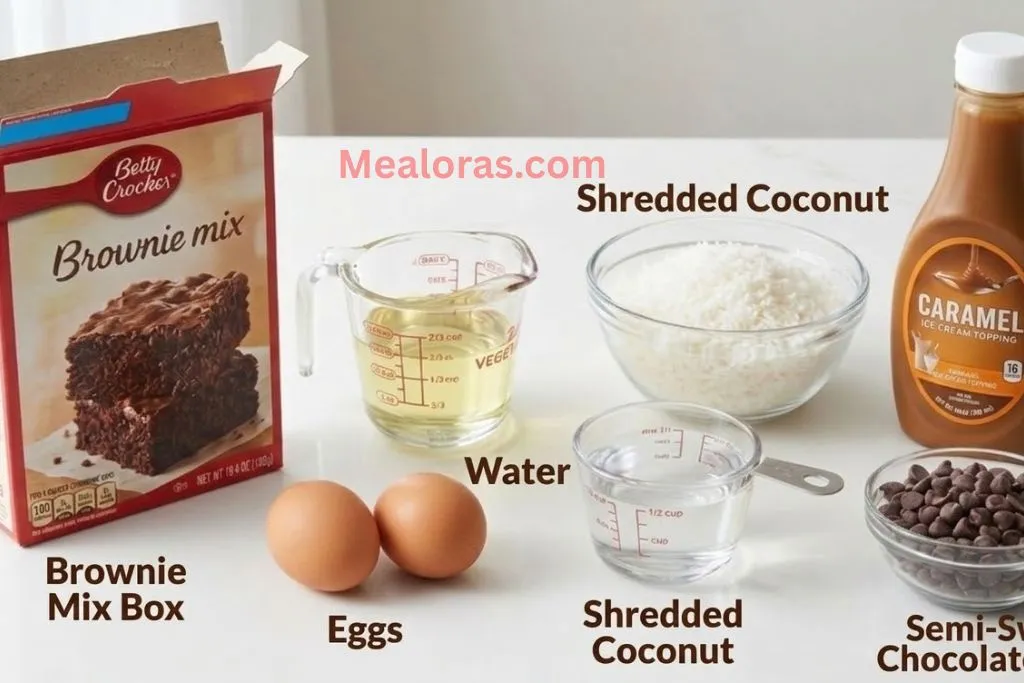
To make these brownies, a few pantry staples and some specific toppings are needed. Using a boxed mix as the base ensures a consistent texture while allowing the focus to remain on the signature Samoa toppings.
Main Components
- Boxed Brownie Mix (18.4 oz): Choose a high-quality fudge or milk chocolate variety designed for an 8×8 inch pan.
- Vegetable Oil (2/3 cup): This provides the necessary moisture for the brownie base (check your specific box for exact amounts).
- Eggs (2 large): Acts as the binding agent for the batter.
- Water (1/2 cup): To help thin the batter to the right consistency.
- Shredded Coconut (2 cups): Use sweetened or unsweetened depending on the desired level of sweetness.
- Caramel Ice Cream Topping (16 oz bottle): Look for a thick, high-quality caramel sauce.
- Semi-Sweet Chocolate Chips (1/2 cup): These will be melted for the final decorative drizzle.
Basic Tools Needed
- 8×8 inch square baking pan
- Parchment paper (for easy removal)
- Large mixing bowl
- Medium mixing bowl
- Baking sheet (for toasting coconut)
- Microwave-safe bowl
- Spatula or wooden spoon
- Small piping bag or plastic storage bag
Step-by-Step Instructions
Follow these clear steps to create a beautiful tray of brownies. Preparation is key, so having all ingredients measured out beforehand will make the process much smoother.
1. Prepare the Brownie Base
Begin by preheating the oven according to the instructions found on the brownie mix box. Lightly grease an 8×8 inch baking pan and line it with parchment paper, leaving a bit of overhang on the sides to act as handles later.
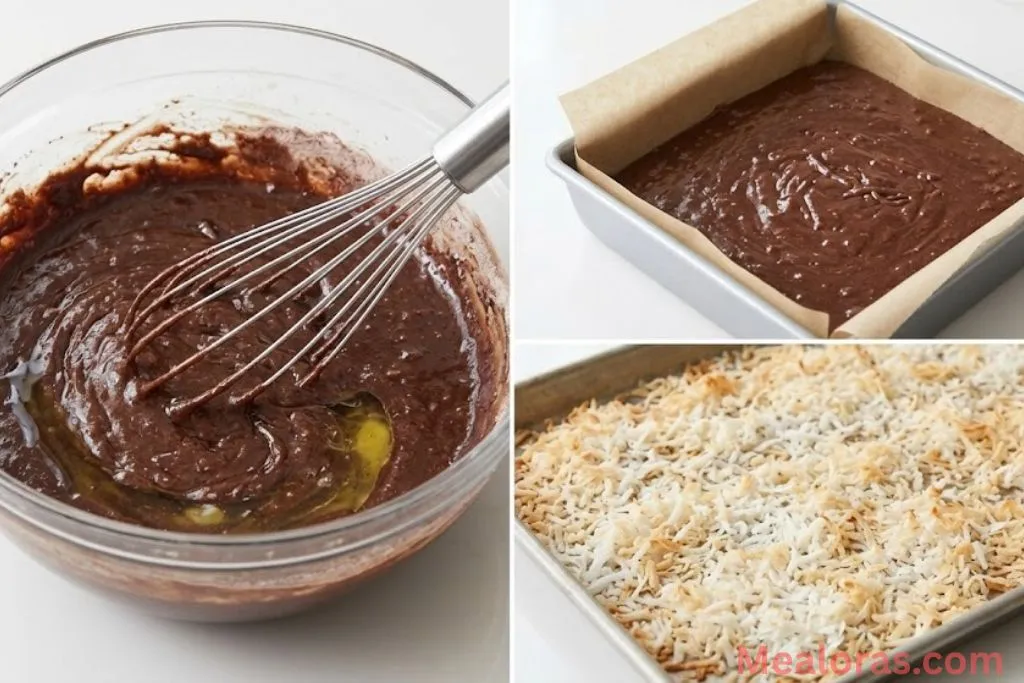
In a large bowl, combine the brownie mix, vegetable oil, water, and eggs. Stir the mixture just until combined; avoiding overmixing ensures the brownies remain fudgy rather than cake-like. Pour the batter into the prepared pan and spread it evenly. Bake for the time recommended on the package, usually between 35 to 45 minutes, or until a toothpick inserted into the center comes out with just a few moist crumbs.
2. Toast the Coconut
While the brownies are in the oven or cooling, keep the oven on to toast the coconut. Spread the shredded coconut in an even layer on a parchment-lined baking sheet. Place it in the oven for about 3 to 5 minutes. It is important to watch the coconut closely and stir it frequently, as it can go from golden to burnt very quickly. Once it reaches an even, toasted brown color, remove it from the oven and let it cool slightly.
3. Create the Caramel Layer
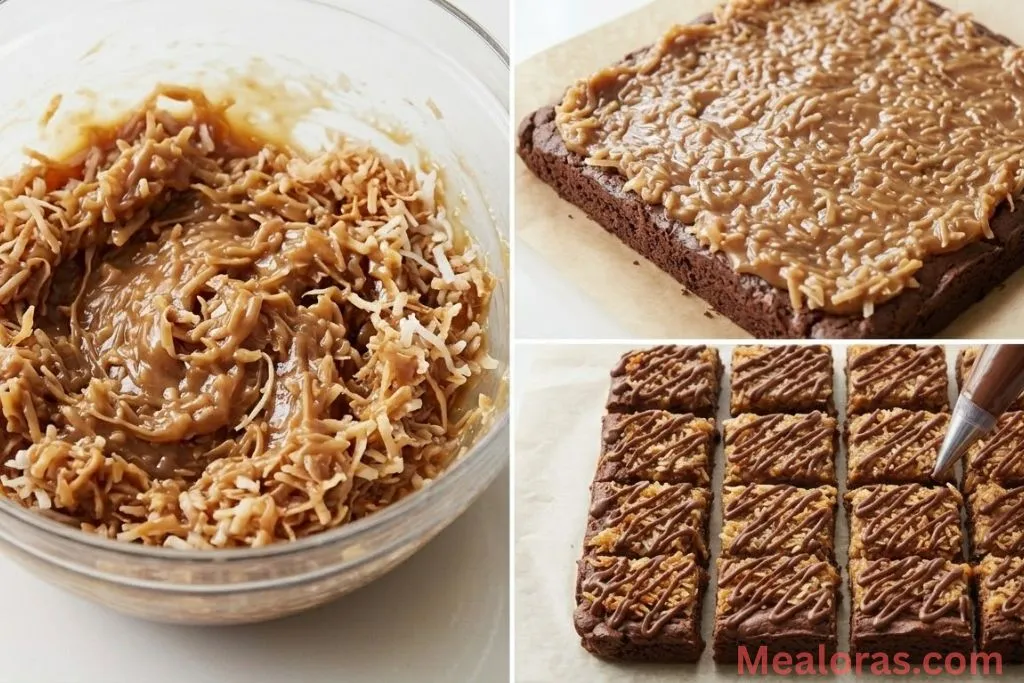
In a medium bowl, pour in the bottle of caramel ice cream topping. Add the toasted coconut to the caramel and stir until every strand of coconut is thoroughly coated in the sauce. This creates the signature chewy, sweet layer that defines a Samoa dessert.
4. Assemble the Layers
Once the brownies have cooled completely in the pan, spoon the coconut and caramel mixture over the top. Use a spatula to spread it into an even layer, pressing down gently to ensure it sticks to the brownie base.
5. Add the Chocolate Drizzle
Place the semi-sweet chocolate chips in a microwave-safe bowl. Heat in 30-second intervals, stirring in between, until the chocolate is completely smooth and melted. Transfer the melted chocolate into a small piping bag or a plastic storage bag with a tiny corner snipped off. Drizzle the chocolate in a zigzag pattern across the top of the coconut layer.
6. Chill and Set
For the cleanest slices, place the pan in the refrigerator for at least one hour. This allows the caramel and chocolate to firm up. Once set, use the parchment paper handles to lift the entire block out of the pan and cut into 16 squares.

Tips for Success and Variations
- Parchment Paper is Essential: Using a parchment “sling” makes it much easier to remove the brownies from the pan without breaking the delicate caramel topping.
- Cooling Time: Never try to add the toppings to warm brownies. The caramel will melt into the base, and the layers will lose their distinct textures.
- Salted Caramel Twist: If you enjoy a savory-sweet balance, sprinkle a tiny pinch of sea salt over the caramel-coconut layer before adding the chocolate drizzle.
- Nutty Addition: For extra crunch, a handful of finely chopped pecans or walnuts can be mixed into the brownie batter before baking.
- Gluten-Free Option: This recipe works perfectly with a gluten-free brownie mix. Just ensure the caramel and chocolate chips used are also certified gluten-free.
If you enjoy preparing meals that are simple yet satisfying, you might want to look into other hearty options like these slow cooker unstuffed cabbage rolls. Both recipes focus on getting great results with minimal stress.
Proper Storage and Serving Ideas
To keep these brownies fresh, store them in an airtight container. Because of the caramel layer, they stay moist for several days.
- Room Temperature: They can be kept at room temperature for up to 3 days.
- Refrigeration: For a firmer texture and longer shelf life, store them in the fridge for up to a week. Use parchment paper between layers if stacking them to prevent sticking.
- Freezing: These brownies freeze remarkably well. Wrap individual squares in plastic wrap and store in a freezer bag for up to 3 months. Thaw at room temperature for about 30 minutes before eating.
When serving, these are rich enough to stand on their own. However, they pair beautifully with a cold glass of milk or a hot cup of coffee. For a more formal dessert, serve a square slightly chilled with a dollop of whipped cream on the side.
Frequently Asked Questions
1. Can I use a different size pan for these brownies? An 8×8 pan is best for thick brownies. If using a 9×9 pan, the brownies will be thinner and require less baking time.
2. Is it possible to use homemade caramel sauce? Yes, as long as the sauce is thick enough to hold the coconut together without running off the sides of the brownie.
3. Why did my coconut burn so quickly? Coconut has a high oil content and thin strands, causing it to brown very fast. Always stay by the oven and stir every 60 seconds while toasting.
4. Can I use milk chocolate instead of semi-sweet? Absolutely. Milk chocolate will make the dessert sweeter, while semi-sweet provides a nice contrast to the sugary caramel.
5. How do I know when the brownies are done? The edges should be set and starting to pull away from the pan, and a toothpick inserted in the center should come out with a few moist crumbs, not wet batter.
6. Do I have to toast the coconut? Toasting is highly recommended as it adds a nutty flavor and a crunchier texture that balances the gooey caramel.
7. Can I make these ahead of time? Yes, these are actually better when made a day in advance as it gives the layers plenty of time to set.
8. What if my caramel sauce is too thin? You can thicken it slightly by simmering it on the stove for a few minutes before mixing with the coconut, or by adding a little more coconut to the mix.
9. Can I use coconut flakes instead of shredded coconut? Yes, though the texture will be chunkier. Shredded coconut provides a more uniform topping that is easier to slice.
10. How do I get perfect squares when cutting? Wipe your knife clean with a warm, damp cloth between every single cut. This prevents the caramel from dragging and sticking.
Conclusion
Creating a batch of Easy Samoa Brownies is a rewarding way to bring a beloved flavor combination into the kitchen. The contrast between the dark chocolate base and the golden, caramel-soaked coconut makes for a dessert that feels truly special. By following these simple steps, anyone can master this recipe and enjoy a professional-quality treat at home.
The process of layering these flavors is a great way to explore different textures in baking. Once the technique of toasting coconut and drizzling chocolate is understood, it can be applied to many other desserts. Enjoy the process of assembly as much as the final result.
If you found this guide helpful, please consider sharing this recipe with friends and family members who love a good chocolate treat. Spreading the joy of simple, delicious baking is a wonderful way to connect with others through food.
Easy Samoa Brownies
Ingredients
- 18.4 oz Boxed Brownie Mix
- 2/3 cup Vegetable Oil
- 2 Large Eggs
- 1/2 cup Water
- 2 cups Shredded Coconut
- 16 oz Caramel Ice Cream Topping
- 1/2 cup Semi-Sweet Chocolate Chips
Instructions
- Preheat the oven according to the brownie mix package and line an 8×8 inch pan with parchment paper.
- Combine the brownie mix, oil, eggs, and water in a large bowl, stirring just until incorporated.
- Pour the batter into the prepared pan and bake until a toothpick inserted in the center comes out with moist crumbs.
- Spread shredded coconut on a baking sheet and toast in the oven for a few minutes until golden brown, stirring frequently.
- Mix the toasted coconut with the caramel ice cream topping in a bowl until fully coated.
- Spread the coconut and caramel mixture evenly over the completely cooled brownies.
- Melt the chocolate chips in the microwave and drizzle in a zigzag pattern over the top.
- Chill the brownies in the refrigerator for at least one hour before slicing into squares.
Notes
• Ensure the brownies are entirely cool before adding the caramel layer to prevent melting.
• Store in an airtight container at room temperature for three days or refrigerate for up to one week.

Mealoras your go-to for simple, flavorful recipes! From quick weeknight dinners to sweet treats and family favorites, we make cooking easy, fun, and delicious for everyone in the kitchen.