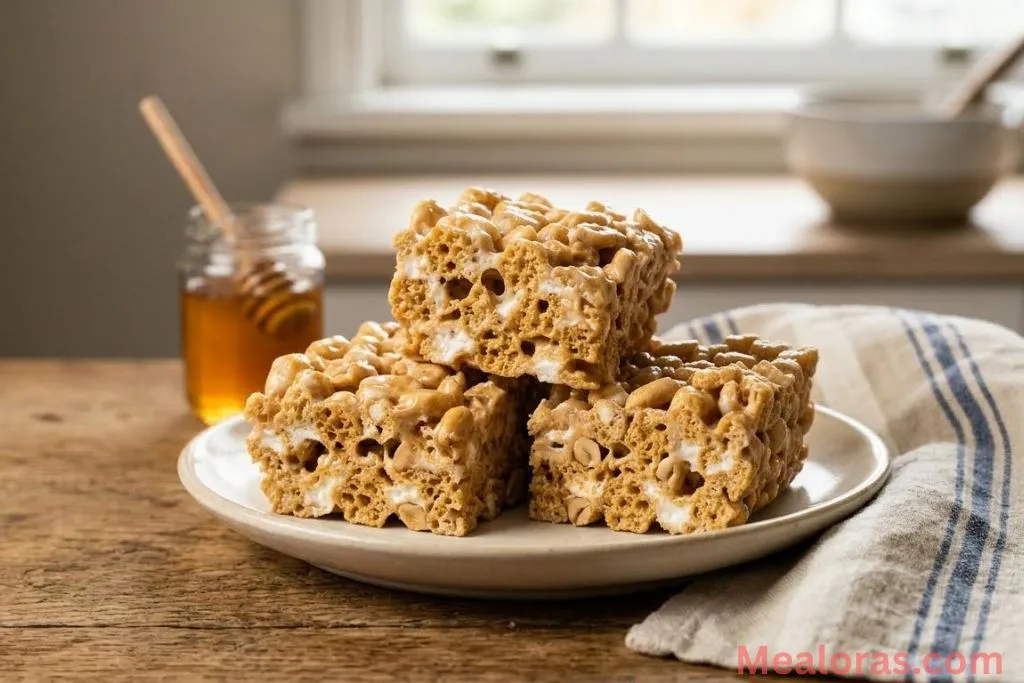
There is something truly special about a snack that brings together a massive crunch with a soft, gooey finish. These treats take the classic marshmallow bar concept and elevate it by using honey-flavored cereal shapes that offer a deeper, toasted flavor profile. It is a simple, no-bake project that results in a golden-hued snack perfect for sharing or enjoying as a quick afternoon bite.
Table of Contents
The beauty of this recipe lies in the texture. Unlike smaller puffed grains, the larger hexagonal shapes create pockets that hold extra melted marshmallow, making every square incredibly chewy. Whether looking for a quick kitchen activity or a reliable sweet snack for the week, this recipe delivers consistent results with very little effort.
Why These Honeycomb Treats Stand Out
While traditional cereal bars are a staple, using honey-infused corn and oat cereal adds a unique floral sweetness that pairs perfectly with buttery marshmallows. The addition of salted peanuts provides a savory contrast that keeps the sweetness in balance, making it hard to stop at just one piece.
For those who enjoy experimenting with different textures in their snacks, checking out this Easter peanut butter eggs recipe can provide more inspiration for high-quality, kid-friendly treats that rely on similar flavor combinations.
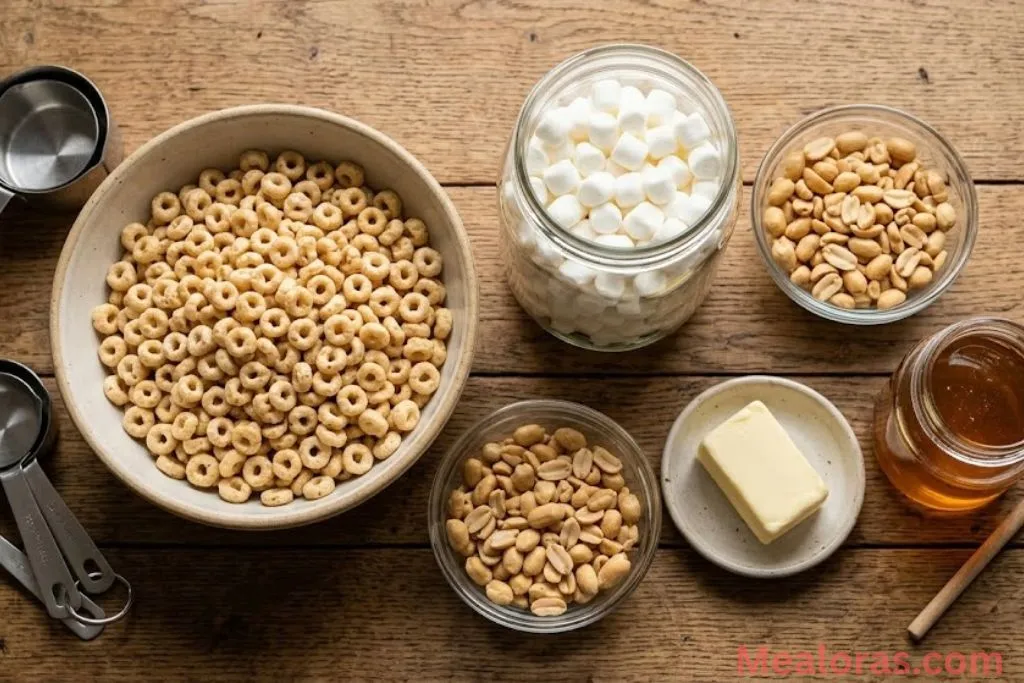
Ingredients for Honeycomb Marshmallow Treats
To ensure the best results, gather all the components before starting. The process moves quickly once the butter begins to melt.
Pantry Staples and Fresh Items
- Honeycomb Cereal: 4 ½ cups
- Mini Marshmallows: 10-ounce bag (standard size)
- Roasted Salted Peanuts: 1 cup
- Unsalted Butter: ¼ cup
- Honey: 2 tablespoons (adds extra depth and a glossy finish)
Essential Kitchen Tools
- Large Saucepan: To melt the butter and marshmallows without overflowing.
- 8×8 Inch Baking Pan: The ideal size for thick, chewy bars.
- Parchment Paper: Or a high-quality non-stick spray to prevent sticking.
- Silicone Spatula: A sturdy tool is necessary for folding the thick mixture.
Detailed Preparation Steps
Follow these steps for a smooth cooking process. Since this is a no-bake recipe, the goal is to manage the heat carefully to keep the marshmallows soft and stretchy.
1. Prepare the Pan
Start by lining an 8×8 inch baking pan with parchment paper. Leave a little overhang on the sides so the treats can be lifted out easily later. If parchment paper is unavailable, a light coating of non-stick spray on the bottom and sides will work well.
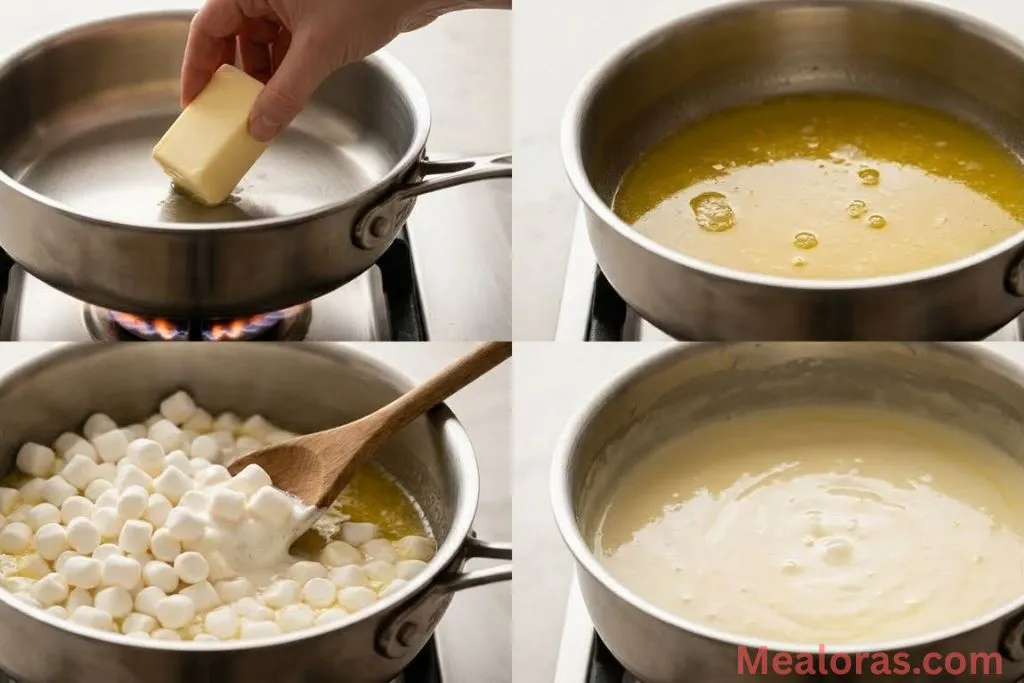
2. Melt the Base
Place the large saucepan over low heat. Add the ¼ cup of unsalted butter and let it melt completely. Avoid using high heat, as scorched butter can change the flavor of the delicate honey notes.
3. Incorporate the Marshmallows
Add the entire 10-ounce bag of mini marshmallows to the melted butter. Stir constantly using a silicone spatula. Continue stirring until the marshmallows have completely transformed into a smooth, liquid goo.
4. Add the Flavor Enhancers
Once the marshmallows are melted, stir in the 2 tablespoons of honey and the 1 cup of salted peanuts. The honey helps bind the treats while adding a beautiful shine, and the peanuts provide that essential salty-sweet balance.
5. Fold in the Cereal
Remove the pan from the heat immediately. Pour in the 4 ½ cups of Honeycomb cereal. Work quickly to fold the cereal into the marshmallow mixture until every piece is thoroughly coated. It is important to be gentle so the cereal shapes stay intact, but move fast enough so the mixture doesn’t set in the pot.
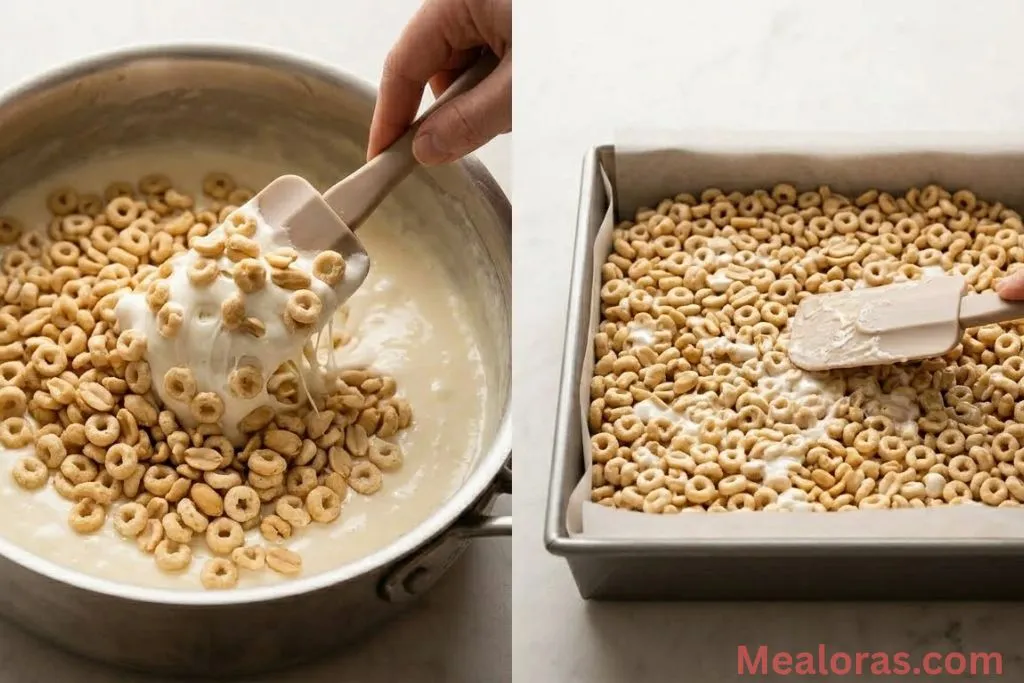
6. Press and Set
Transfer the sticky mixture into the prepared baking pan. Use the spatula (or a piece of greased wax paper) to press the mixture into the corners. Do not press too hard; a light touch ensures the bars remain light and chewy rather than dense and hard.
7. Cool and Slice
Let the treats sit at room temperature for at least 30 to 60 minutes. Once they are firm to the touch, lift them out of the pan using the parchment paper and cut them into even squares.
Tips for the Best Results
- Freshness Matters: Always use a fresh bag of marshmallows. Older marshmallows can become stiff and may not melt into the smooth consistency needed for a soft treat.
- Low and Slow: Never rush the melting process. High heat can cause the sugar in the marshmallows to crystallize, resulting in a rock-hard snack.
- Grease Your Tools: Marshmallow is incredibly sticky. Rubbing a little butter or spray on the spatula before mixing makes the job much easier.
If you enjoy recipes that use simple ingredients to create a cozy atmosphere, this cinnamon sugar donut bread recipe is another excellent option for a warm, family-safe treat that pairs well with a glass of milk.
Flavor Variations and Easy Swaps
While the combination of peanuts and honey is a classic, there are several ways to customize this recipe:
- Nut-Free Option: Simply omit the peanuts and add an extra half cup of cereal to maintain the volume.
- Chocolate Drizzle: Once the treats have cooled, a drizzle of melted chocolate over the top can add an extra layer of indulgence.
- Extra Marshmallow: Fold in an extra cup of unmelted mini marshmallows right at the end for “marshmallow pockets” in every bite.
- Spice it Up: A tiny pinch of cinnamon added to the melted butter can enhance the honey flavor beautifully.
Storage and Serving Ideas
To keep these treats tasting as fresh as the day they were made, store them in an airtight container at room temperature. They generally stay soft for up to 3 to 4 days. Avoid refrigerating them, as the cold can make the marshmallow mixture too firm.
For serving, these squares are wonderful on their own or served alongside a fruit platter. They make a great addition to a lunchbox or a simple after-school snack.
Frequently Asked Questions
1. Can I use a different size pan? Yes, but a larger pan will result in much thinner bars. An 8×8 inch pan provides the best thickness.
2. Is it possible to use large marshmallows instead of mini ones? Yes, but mini marshmallows melt much faster and more evenly. If using large ones, cut them into smaller pieces first.
3. Why did my treats turn out hard? This usually happens if the marshmallows were melted over high heat or cooked for too long. Always use low heat.
4. Can I use salted butter? Yes, if using salted butter, you may want to slightly reduce any additional salt in the recipe, though the peanuts already provide a good balance.
5. How do I stop the mixture from sticking to my hands? Lightly grease your hands with a small amount of butter or oil before pressing the mixture into the pan.
6. Can I make these in the microwave? Yes, melt the butter and marshmallows in 30-second intervals, stirring in between, until smooth.
7. Are these treats gluten-free? You would need to check the specific brand of Honeycomb cereal used, as some may contain grain products with gluten.
8. Can I freeze these for later? It is not recommended, as the texture of the cereal and marshmallow changes significantly once thawed.
9. Can I use other nuts instead of peanuts? Absolutely. Almonds or walnuts would provide a great alternative texture.
10. How many squares does this recipe make? When using an 8×8 inch pan, it typically yields 12 to 16 squares depending on how large they are cut.
Conclusion
Creating these treats is a fantastic way to enjoy a unique twist on a familiar favorite. The combination of honey and crunchy cereal creates a golden snack that is both satisfying and easy to prepare. It is a reliable choice for anyone looking to stock the pantry with something sweet and simple.
If you enjoyed making these, feel free to share this recipe with others who love easy-to-follow snacks. Spreading the joy of simple, delicious treats is a great way to bring people together over a shared love of great food!

Honeycomb Marshmallow Treats
Ingredients
- 4 ½ cups Honeycomb Cereal
- 10- ounce bag Mini Marshmallows
- 1 cup Roasted Salted Peanuts
- ¼ cup Unsalted Butter
- 2 tablespoons Honey
Instructions
- Line a square baking pan with parchment paper or a light coating of non-stick spray.
- Melt the unsalted butter in a large saucepan over low heat until completely liquid.
- Stir in the mini marshmallows constantly until the mixture is smooth and fully melted.
- Add the honey and salted peanuts into the marshmallow base and stir to combine.
- Remove from heat and gently fold in the cereal until every piece is coated.
- Transfer the mixture to the prepared pan and press down lightly with a greased spatula.
- Allow the treats to sit at room temperature until firm before slicing into squares.

Mealoras your go-to for simple, flavorful recipes! From quick weeknight dinners to sweet treats and family favorites, we make cooking easy, fun, and delicious for everyone in the kitchen.